Showing posts with label headband. Show all posts

Monday, 27 May 2013

Quick & Easy Hairband

Gentle to your hair and very easy to make - a Hand stitched Hairband

Reproducing one of my latest projects over and over again, I had to think about how to use the leftovers of this gorgeous bamboo cotton jersey. This was not hard because I really don't like hairbands I can get in the supermarket and I don't want to scout for good ones.... and I always loose mine or rather spread them in unknown places. Just to demonstrate the cross stitch better I used white material for the movie.


If you enjoyed watching this movie, please don't forget to like, share ♥, thank you!

So this is what you need:
.stretchy jersey with lots of cotton in it so it won't be too slippery
.a plastic ruler
.a rotary cutter
.buttonhole thread
.a needle (sharps no4)
.some thin pins
.fabric scissors

.. preparation
Depending how you will use your hairband, determine a size that suits your needs.
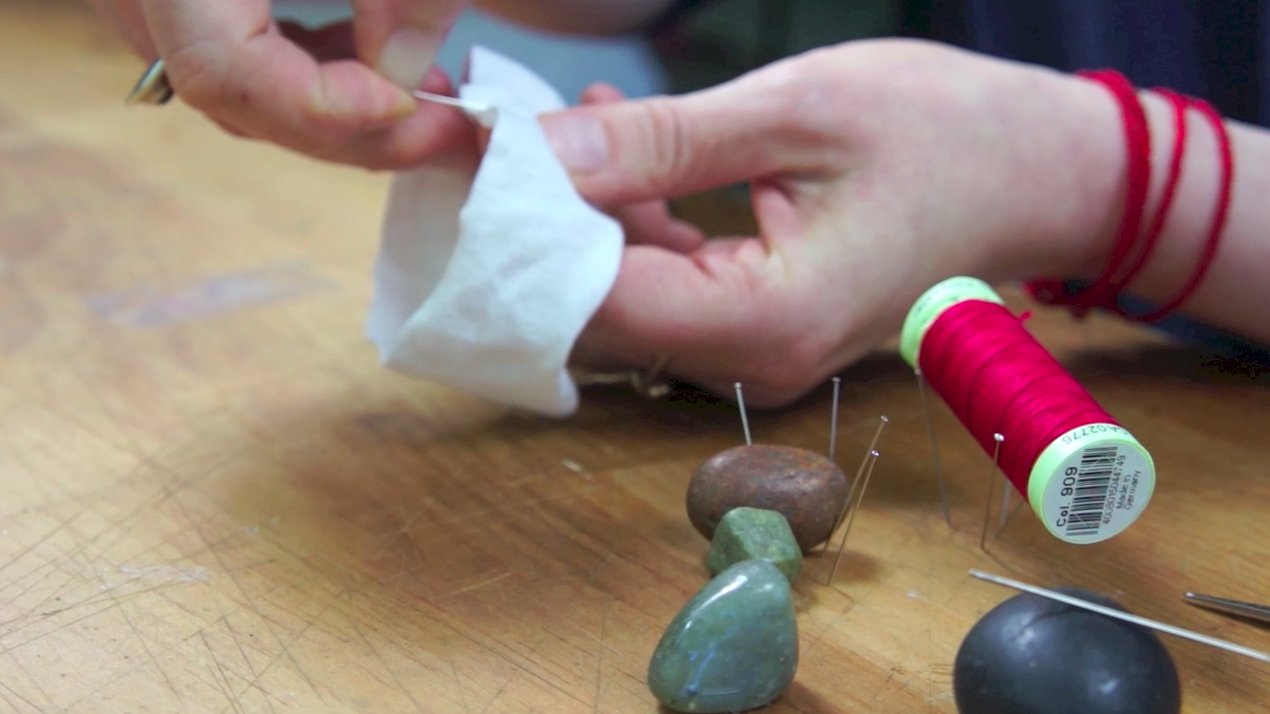
With your rotary cutter cut a strip of about 4 cm width (but try also 3 or 2 cm, it depends on the size of your hairband and the thickness of your jersey) and the desired length along the grain line. Include 1 cm overlap in your strip and pin the overlapped ends (1 cm).


. . sewing
Thread your needle, make one single knot at the edge and about 7 mm higher up make a double knot.
Loop your thread around the edge and come up making the first bottom part of your Cross Stitch. Sew the Cross Stitch all along tip you reached the other edge, loop around it make a double knot close to the fabric and a single knot about 7 mm further away and trim.

Now you can pull you hairband and stretch it which makes the edges curl up, tuck in the area where the seam is.

Finished!

To be repeated in bigger or smaller sizes or thinner width and very useful to make it in the size that fits around your wrist........


Tuesday, 29 January 2013

DIY Hand stitched infinity scarf

DIY Hand stitched infinity scarf / head band / necklace / accessories / emergency scarf for freezing kids . . .

I don't think I have enough infinity scarves. My first Hand stitched infinity scarf was made out of a bit of scrap material. I found a piece of cashmere knit exactly the right size to fit twice around my head. The material (rectangle) was longer along the grain line which was fine for me because it stretches less this way and is perfect for a headband that keeps its shape.
So that is how my infinity scarf production started and I adapted it in many different ways. One for example is made out of the leftovers of an Organic Cotton jersey top I made and turned into a scarf with lots of necklaces. Another one is made of a warm knit and a bit wider so I can pull it over my head and it is very warming and cozy. . . So if you would like to stitch your own infinity scarf by hand, 
this is what you need:
. Fabric - anything that does not fray but stretches
. Cutting Matt
. Rotary Knife (optional)
. Plastic Ruler
. Milward Sharps Needle No4
. Gutermann Top Stitch Thread in colour(s) of your choice
. Thin Pins
. Embroidery Scissors
. Fabric Scissors

STEP ONE
First decide what shape your infinity scarf should have. This project demonstrates a thinner version, that serves as a headband but also a necklace or scarf. 
The width should fit twice around your head, add about 1.5cm for seam allowance. The height is about 33cm but again decide what suits your purpose. The grain line runs with the length of the rectangle.

STEP TWO
Then pin the (shorter) edges (pic 2).
I usually fold the material so the wrong side is inside and the felled seam you will create will be outside. The reason for this: When you wear the scarf it twists and so when the inside is visible it looks neat and still attractive and the seam being placed on the outside gives another element to look at (pic 5+6).

STEP THREE 
Make 1 knot at the very end (about 2mm away from the edge) to prevent fraying and then about 1cm higher make 2 knots in the same place to fixate your thread at the start.(The double knot in the same place might take a bit of practice)

(fot the knot also see http://icancu4more.blogspot.co.uk/2013/01/diy-hand-stitched-wash-bag.html) 

Start stitching. I loop the first stitch around to the back and up very close to the first hole which seems to give it more hold. Then sew in a straight line a straight stitch. 
The stitches should have a nice rhythm. Too wide leaves a gap, too narrow might ruin the fabric. When you reached the end run your finger along the stitching from the beginning to the end to find the right tension between fabric and thread. Too tight and the fabric looses its stretch, too loose and the thread makes loops. 

Finish as you started. Loop the last stitch around to the front and down next to the same hole, make a double knot in the same place (on the wrong side) by using your nail and a single knot further away, trim the thread. Ideally both knots the first one and the last one are on the same side.

STEP FOUR
Pin the seams to the side where your knots are (so they will hide under the seam). Thread your needle, it is nice to use a contrasting colour for this eye-catching cross stitch. 
The start is the same as for the straight stitch by looping your thread around the edge. Come up next to the loop and make the first bottom part of the cross stitch, the needle should come up at the same distance from the edge as the stitch that came up next to the loop. The top part is exactly the same as the bottom part but moved to the right and you come up at the same distance from the edge as the last stitch that came up on the bottom. . . Keep your top and bottom parts of your cross stitch in a line so your stitch looks regular with a nice rhythm. In the last pic you can see the wrong side. 
End as you started by creating a loop that goes to the back right next to the last stitch. Knot off and trim.
Enjoy!


And now you can also watch The movie for making a Hand stitched infinity scarf:
If you enjoyed watching this movie please don't forget to like an share it, thank you!!! ♥ handmade!