Friday 31 May 2013

i can cu is ONE - enter the BIG anniversary Giveaway!


i can cu's 1y anniversary Giveaway


Almost one year ago i can cu made a step into the light and opened the shop at etsy i can c u - Hand stitched Yoga wear / fashion +
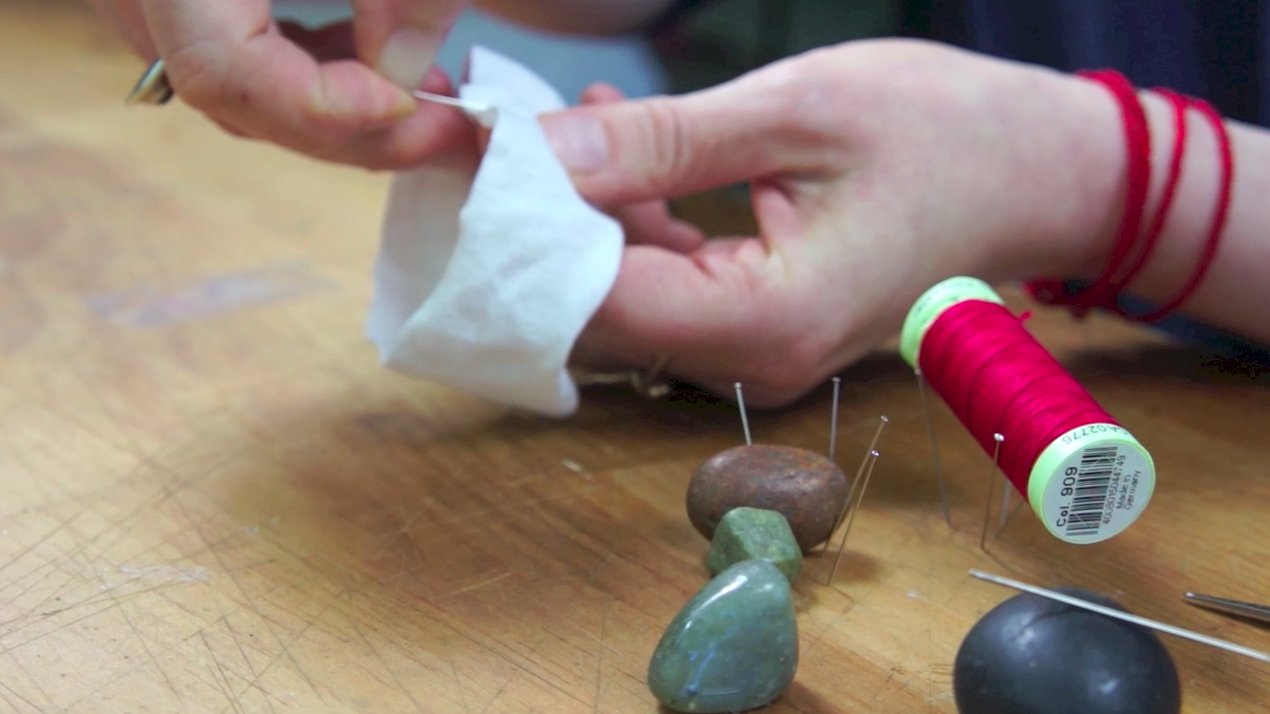
What a big event! It took a while to get settled and some months later the shop was filled with lots of Hand stitched garments and we had some nice photo shootings.....

Thank you to all customers, supporters, new friends and old ones! I cannot believe a year has past but I am also very proud it has!


And now.......every birthday needs a present, so this is it
The BIG 1y anniversary Giveaway!
Because of this special occasion i can cu launches a big Giveaway and you can win YOUR favorite Hand stitched Tank Top in a color of your choice. 
Additionally you can select the colour of the contrasting seam and the size. This Tank Top will be made especially for you!


Choose size S, M or L.

The seam colours can be blue, yellow, white, red, purple or orange.
The fabric can be chosen from a comfortable grey marl cotton-rib double jersey or a soft mauve single jersey cotton-mix (T-shirt) or a very thin dark blue cotton-rib jersey (slightly transparent and very soft) or 
a stretchy very soft mustard cotton-mix rib-jersey.
From casual to elegant, Yoga or dance you will love YOUR new favorite Hand stitched Tank Top.


Happy Birthday!


ENTER here
To enter the BIG 1y anniversary Giveaway share this Giveaway in media of your choice and leave a comment below this post and add the link and your name.

You have earned one additional entry in case 
you additionally followed i can cu's blog 
or favorited i can cu's FB page 
or followed i can cu's pinterest page 
or subscribed to i can cu's channel 
and this will increase your chance to win. (please add that to your comment)

The winner will be randomly chosen and announced on the 1st of July 2013. 
Love to you all. Thank you!


Monday 27 May 2013

Quick & Easy Hairband

Gentle to your hair and very easy to make - a Hand stitched Hairband

Reproducing one of my latest projects over and over again, I had to think about how to use the leftovers of this gorgeous bamboo cotton jersey. This was not hard because I really don't like hairbands I can get in the supermarket and I don't want to scout for good ones.... and I always loose mine or rather spread them in unknown places. Just to demonstrate the cross stitch better I used white material for the movie.


If you enjoyed watching this movie, please don't forget to like, share ♥, thank you!

So this is what you need:
.stretchy jersey with lots of cotton in it so it won't be too slippery
.a plastic ruler
.a rotary cutter
.buttonhole thread
.a needle (sharps no4)
.some thin pins
.fabric scissors

.. preparation
Depending how you will use your hairband, determine a size that suits your needs.
With your rotary cutter cut a strip of about 4 cm width (but try also 3 or 2 cm, it depends on the size of your hairband and the thickness of your jersey) and the desired length along the grain line. Include 1 cm overlap in your strip and pin the overlapped ends (1 cm).


. . sewing
Thread your needle, make one single knot at the edge and about 7 mm higher up make a double knot.
Loop your thread around the edge and come up making the first bottom part of your Cross Stitch. Sew the Cross Stitch all along tip you reached the other edge, loop around it make a double knot close to the fabric and a single knot about 7 mm further away and trim.

Now you can pull you hairband and stretch it which makes the edges curl up, tuck in the area where the seam is.

Finished!

To be repeated in bigger or smaller sizes or thinner width and very useful to make it in the size that fits around your wrist........


Thursday 23 May 2013

How to Make a Headband

How to Make a useful Headband - very easy & versatile

This Headband is a must have for my comfort and daily life. Whether working, dancing or on the bike I don't want my hair in the way but I need something soft and gentle to hold it in place. I found this version very useful:

. . .if you enjoyed watching this movie please don't forget to like & share it, thank you!


What you need
.stretchy soft jersey with lots of cotton or it will be too slippery
.a plastic ruler
.a rotary cutter
.buttonhole thread
.a needle (sharps no4)
.some thin pins
.fabric scissors
.tailor's chalk

. . preparation
Determine the size you need with a strip of your material (cut along the grain line) and mark it with a pin. I usually make it a tick smaller because the fabric will give, but not too tight to keep it comfortable. Add 1 cm for overlap and cut a rectangle of 10 cm width (across the grain line) and the desired length of your headband (along the grain line)

Using tailor's chalk mark a line 9 cm away from the edge and across the grain line. Repeat on the other side. The area between those lines will be cut into strips.

Cut along the grain line from marked line to marked line leaving a 2 cm spacing between these strips. The strips make it more adjustable and it looks lighter and is also decorative.

. . sewing
Pin the edges overlapping 1 cm and thread your needle. Make a single knot close to the edge and a double knot about 7 mm further up. Start sewing a Cross Stitch by looping the thread around the edge first. Do this a second time and the space between these loops will determine the height of the Cross Stitch. 

Come up and make the first bottom part of your Cross Stitch. Continue all the way to the other edge, finish with two loops, a double knot close to the fabric and a single knot 7 mm further away. Trim.

Stretch the headband and make the strips curl up and it is ready to use.


Tuesday 21 May 2013

Meet Dolly

Hello new friend . . 

Only a matter of time but now she finally made it, meet my new tailor's dummy. Hello!

Saturday 18 May 2013

I can cu featured!


hello friends 

my pink fingerless gloves 
are up for vote.

please vote for icancu2, 
thank you!!!!!!! 
very much appreciated....


http://onfireforhandmade.com/perfectly-pink-great-finds/


I am Being Featured on Great Finds!

Friday 17 May 2013

The Cross Stitch - a movie behind the scene

How to sew a Cross Stitch by hand - I can cu at work / meditation

As hard as editing in detail is as much calmness it spread in this case. 
While I am sewing I am not thinking. And if a thought comes up I usually make an error. And I love this. The best results come from an empty mind just in flow with a rhythm.

So in this state this movie was created and while editing I had to bring myself back to cutting and not drifting away in a cross stitch.

This movies explains How to sew a Cross Stitch (Herringbone Stitch), from start to finish, involves loops, knots and continuation with a new thread. 

I hope this film helps using this fantastic stitch, for mending, creating or just an eye-catcher.
Thank you for watching.

If you liked it, please don't forget to share it! Thanks again.


Tuesday 14 May 2013

How to sew knickers (pattern)

An easy DIY sewing-project to make Hand stitched Knickers and the pattern to reproduce them again

This is to complete the movie that you might have watched.
and NEW: choose Lycra for some swim pants and make your Bikini Top aswell...

. . . tools
. very good material like Bamboo/Cotton Jersey with some elastane
. knickers elastic band

. Buttonhole thread in colour(s) of your choice
. Sharps needle No4

. thin pins
. tailor's chalk


. pattern paper or similar
. pencil & paper scissors
. a plastic ruler
. iron 

. and your favorite pairs of knickers

... preparation
You do not need to ruin your favorite pairs of knickers! I did it to make an accurate pattern and it is easier to demonstrate how to do so. But it is also possible to trace around your favorite knickers without cutting into them, just more fiddly.
Cut open or not, trace around your knickers and transfer the shape to paper. Cut the template out using your paper scissors, fold it in half and see whether it is symmetrical. If not, average it and transfer the half again onto paper, this leaves you with your pattern. (As the fabric will be folded in half you only need the half pattern)

Half your fabric along the grain line, and trace the outline of your pattern using tailor's chalk. Cut it out on the inner side of your chalk line.


. . . construction
Right sides facing each other pin both side seams, 1 cm away from the edge. 

Thread your needle. Make one single knot close to the edge and make a double knot about 7 mm further upStart sewing with making a loop (up through the fabric, around the edge and up through the fabric again right next to the previous hole) and continue in a straight line a straight stitch, try to stay about 1 cm from the edge and keep the stitches even. 

When you reached the end run your fingers along the stitches finding the right tension between fabric and thread. Finish with a loop and knot off, first make a double knot close to the fabric using your nails to gently push it there and a single knot a bit further away, trim.
Repeat on the other side.

Turn the knickers to the right side, separate the seams and fold them to each side and pin. Repeat on the other side.

Thread your needle, make the single and double knot and loop your thread through both seams around both edges, basically make a loop on each side and come up again to start the first bottom part of the cross stitch. The top part of the cross stitch is exactly the same but moved to the right. You always come up again where the last stitch ended. Down and through the fabric for the bottom part, come up again to finish the bottom part where the last top stitch ended and move to the top part and through the fabric again, up and so on. Finished one side, make the 2 loops and the knots, trim and repeat on the other side. 

Keep the top and bottom part of your cross stitch in a line, so the stitch looks regular. If you have to restart with a new thread make your knots and continue. 
For more details see also my cross stitch blog post.

Turn the knickers to the wrong side and fold 1 cm for the leg seam over and pin. Do this for both legs and repeat the cross stitch. Iron the seams, thread the needle, make the knots and start with the cross stitch. Finished with both legs there is only the elastic band to attach.

Use as much elastic band as comfortable and add about 2 cm for overlap. Start pinning at the back, half the elastic band and pin again, and so on till you have pinned all the way around.

Thread your needle, make the knots and start sewing a cross stitch next to the overlap (so you go over the overlap in the end). Stretch the elastic band while sewing the cross stitch all the way around, carefully to keep it aligned.

Finished!


Monday 13 May 2013

The Knickers Project

How to make a pattern & Hand stitched Knickers

This project has waited a long time now to be realized. I always wanted to make my own knickers facing the problem that I could never find the favorite pairs of knickers again. 
I don't know why but I always thought knickers are too demanding to make yourself but the reality is much more pleasant: 

Easily done, easily repeated over and over again and soooo comfortable!

But see for yourself!

Friday 10 May 2013

Energy boost

Excitement of the unknown

Tired or not I am generated by excitement of new projects and their outcome. I have an idea and and this boost drives me as fast as possible to realize it.

The mat is out, so is the Organic Cotton/Bamboo Jersey, which is  already a pleasure in itself to work with, a fine smooth material. . . .
And soon I will know. . .

Thursday 9 May 2013

How-to sew a Hand stitched skirt

A DIY-sewing project by i can cu

Now, after practicing the Cross stitch ;)it is time to start the first project. It should be the season of showing more leg but it is also nice to wear one over leggings or tights, a skirt. This project is easy and can be repeated over and over again, shorter, longer, softer, brighter . . 

What you need
. Stretchy Jersey (anything that drapes nicely)
. Bottom seam of a T-shirt or a fold-over elastic band
. Thin Pins
. Gutermann Buttonhole / Top Stitch Thread in colour(s) of your choice
. Embroidery Scissors
. Milward Sharps Needle No4
. Cutting Matt
. Plastic Ruler
. Tape Measure
. Rotary Cutter
. Tailor's chalk or an erasable pen
. Fabric scissors


Measurements
First measure around your waist, your hips and around the widest part of your bottom.

Ready?
Half the fabric, align it and cut the edges straight (on one side, which will be the raw end of the skirt).Choose the length of your skirt, mark it and cut again.Cut the fabric in half now along the grain line using your fabric scissors, which leaves you with 2 halves of your skirt.Take one half and half it again along the grain line. Transfer the measurements taken earlier starting from the edge: first the waist measurement, leaving a 10 cm gap, then mark the hip measurement, leaving again a 10 cm gap and then mark the last measurement.Connect these 3 marks with your chalk or erasable pen, add 1 cm for seam allowance and cut, using your rotary cutter. Repeat the same for the other half. Half this half, transfer your measurements leaving a 10 cm gap between them, connect the marks and add 1 cm seam allowance and cut. If you don't like the angle and it would make your skirt too wide or too narrow, slightly adapt it but leave the waist measurement at the original point or very close to it, otherwise your waistband will have to accommodate too much fabric and this will make it very wavy.

Assembling
Now you can start pinning. Assemble both skirt halves, right sides facing each other, pin both ends first, which helps to align the fabric and then pin the rest, repeat for the other side.

Take about 2.5 skirt lengths of your thread and cut it in an angle to thread your needle  easier. Make one single knot close to the edge and make a double knot about 7 mm further up. See here and here for knot details.

Start sewing with making a loop (up through the fabric, around the edge and up through the fabric again right next to the previous hole) and continue in a straight line a straight stitch, try to stay about 8 mm from the edge and keep the stitches even.

When you reached the end run your fingers along the stitches finding the right tension between fabric and thread. Finish with a loop and knot off, first make a double knot close to the fabric using your nails to gently push it there and a single knot a bit further away, trim.

Repeat on the other side. The single knot, the double knot, loop around the edge, the straight stitch, adjusting the tension, the loop, double knot, single knot, trim.
Turn the skirt to the right side and fold one seam to the back and start pinning. On the other side fold the seam the same way, so they both face back and pin too.


The Cross Stitch
Thread the needle, make a single and double knot and loop the thread around the edge of your fabric. Choose to loop through the folded seam (thicker). Come up again through the fabric (below the created line) making the first bottom part of the cross stitch. 
The top part of the cross stitch is exactly the same but moved to the right. You always come up again where the last stitch ended.

Down and through the fabric for the bottom part, come up again to finish the bottom part where the last top stitch ended and move to the top part and through the fabric again, up and so on. Finished one side, make a loop and the knots, trim and repeat on the other side. Keep the top and bottom part of your cross stitch in a line, so the stitch looks regular. If you have to restart with a new thread make your knots and continue. More details for the cross stitch here

The Waist Band
Use as much waist band as comfortable around your waist and add 2 cm for overlap. 
Start pinning at the back, half the elastic band, and pin again. Quarter the elastic band and pin. . . Pin you way around, and keep checking that the fabric is fully tucked in while stretching it.Start sewing a cross stitch next to the overlap (so you go over the overlap in the end). The first few stitches can be tricky but as soon as you moved along it will be easier to find a rhythm again. Do the cross stitch all the way around so the last stitch meshes the first. Knot off, trim. Finished!I hope you enjoyed making this skirt, here is the movie this project is referring to. Thank you and see you at i can cu!


Wednesday 8 May 2013

the movie. . .DIY-skirt

I did it!

This is only the proud announcement that I finished my first movie! I almost crashed my computer and have increased my coffee intake drastically but it was a lot of fun too! 

More about this project later! See you at I can cu . . .


Monday 6 May 2013

In a dark dark room,

sunshine inside.

It is a sunny day and everybody is outside on their bikes.
This is very hard for me because I love sunshine and I love my new bike. But: I am sitting in my studio, working. Very good that I really enjoy what I am doing, so I only suffer briefly when I have a look outside my window. Facing my screen I enter the exciting world of click and cut . . . What am I doing? I hope I can present it soon . . .